


[Wp Handbook] WordPress Plugins: Everything You Need To Know To Make Them A Child’s Play
One of the main concerns of every entrepreneur launching their first website has to do with WordPress plugins .
Which ones do I choose?
How are they installed?
How many do I add?
How are they activated?
If you have been using WordPress for a short time or are thinking of creating a website , these (and other) questions will surely be on your mind. And to respond, I have prepared this post. I put on the layer of technological sherpa to tell you step by step all the secrets of WordPress plugins .
After reading this article, you will no longer be afraid of messing it up and plugins will seem like child’s play. Promised.
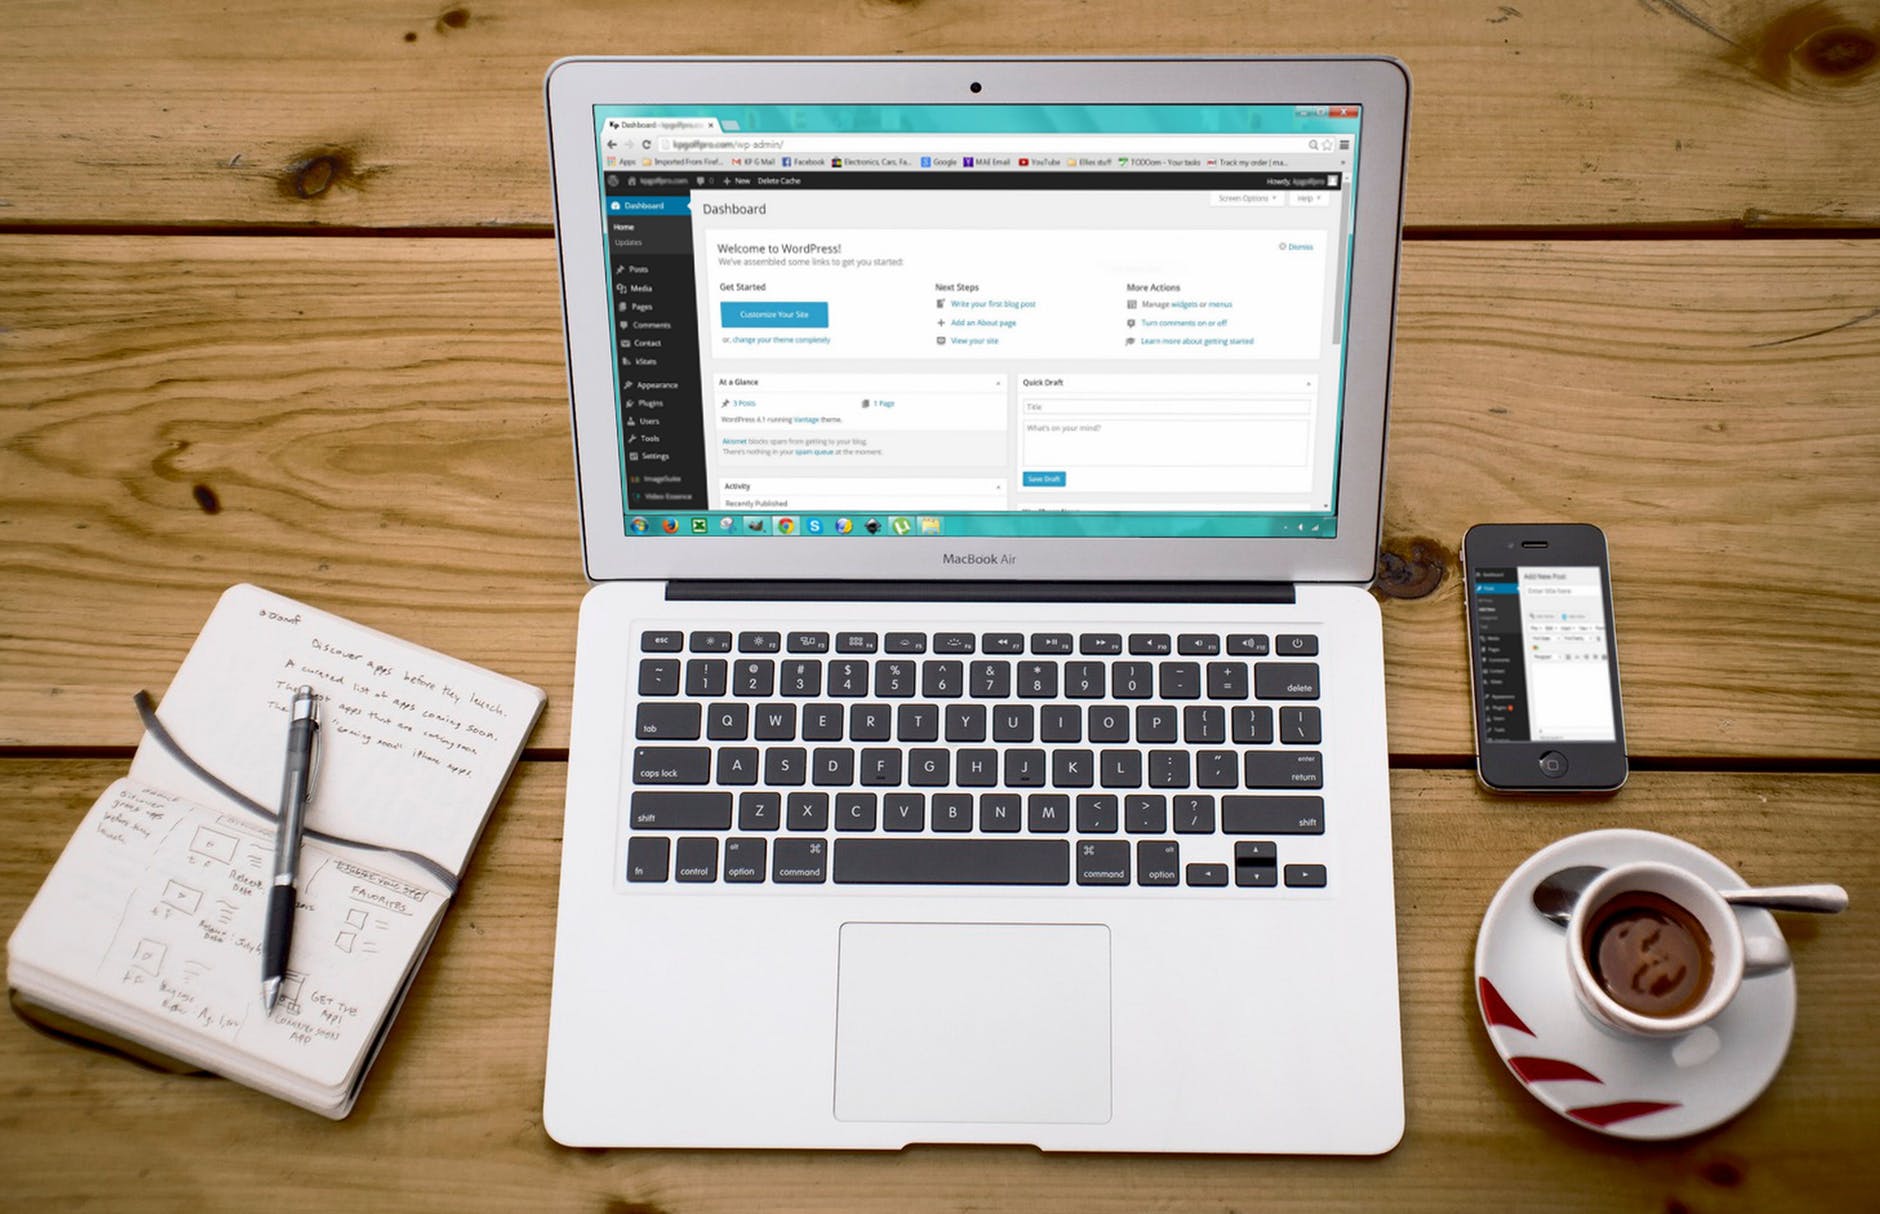
What Are WordPress Plugins And From Where Are They Managed?
Plugins are external add-ons that extend the functionality of WordPress.
Although WordPress comes pre-designed to make life much easier in building a website without having to be an expert in programming, it does not include all the options that your project may need. And that “hole” of functionalities is completed by means of plugins.
Although the word “plugin” sounds very technical to you, the good news is that the editor itself is configured so that you can easily install and run these plugins , so mastering WordPress plugins is a matter of practicing a little so that you look like a piece of cake.
Before we fully dive into the plugins, you should know that any operation you want to perform will be done through the “Plugins” option that you will see in the main menu on the left .
It may sound like an exaggeration, but believe me when I tell you that there are (literally) thousands of plugins available that provide a huge range of functionality. And to find the one you need, the best place to look in the first place is the official WordPress directory .
The best thing is that to search for and install new plugins many times you won’t even have to leave your own website. Within the “Plugins” menu, you can search and install the ones you want by simply clicking on the “Add New” button at the top of the page or on the “Add New” link in the menu of this option.
When a plugin has been added to the site, it’s time to activate it . To do this, click on the “Activate” link. Depending on the plugin, there may be options that you have to configure, but don’t worry, because the configuration is usually quick and intuitive.
Activated WordPress plugins will be displayed with a different background color within the plugin list and will be highlighted with a blue vertical line at the far left of the row.
Also, if a plugin that is already activated has an updated version available , the background color will change and the vertical line will be red.
As a web security measure, ALWAYS keep all your plugins up to date.
On the other hand, for installed plugins, as soon as an update is available, a small number will appear next to the “Plugins” menu option. That number tells you how many WordPress plugins you have pending to update .
In addition, a message will be displayed below the plugin title and description, notifying you that there is an updated version, along with a link that allows you to see the details of the new version and another to update the plugin with a simple click.
Please note that before updating a plugin, it is advisable to verify that its functionality has not been significantly changed (in a way that affects the entire site) and that you make sure that the plugin and the website will work as expected once updated. has been updated.
When you click the “Update Now” link just below the plugin description, the plugin will automatically update for as long as you stay on the plugins page.
Once the update is complete, a message will appear indicating the end of the operation and the background will change color to indicate that no update is needed anymore and you can safely use it on your pages or posts .
Don’t turn your WordPress into a plugin store: if one you don’t need and remains disabled, remove it. You will save space, gain speed and avoid developing plugin Diogenes syndrome 🙂
To delete a plugin, simply click on the “Delete” link below the plugin title.
In the following image you will see all these steps that we have discussed graphically:
Add Plugins In WordPress
As we have said, to add a new plugin , just click on the “Add new” link in the navigation menu on the left or on the “Add new” button at the top of the page.
Once this is done, the “Add Plugins” page will display a list of currently featured WordPress plugins in your directory. You can use the links at the top of the page to filter the results and view Featured, Popular, Recommended plugins, or a list of plugins you’ve bookmarked within the directory.
If you click the “Favorites” link, you will need to type in your WordPress account username and then click the “Get Favorites” button so you can retrieve your list.
Another option is to click on the “Search plugins” text input field and enter the text to search for a specific plugin.
To see more information about a plugin you are interested in, click on the thumbnail, the plugin name or the “More details” link.
Doing so will display a popup window with more information about the component, such as version, author, and last update date . You will also be able to read the complete description of the plugin, the installation notes, see screenshots and read the opinions of other users that can help you decide if you want to install it or not.
If you are convinced and want to have it on your website, after clicking the “Install Now” button, the plugin will automatically download, install on your site and give you the option to activate it or return to the plugin installation page. WordPress plugin.
On the “Add plugins” page, you will also have the option to manually upload a plugin to your site, since although the official directory is very extensive, there may be other components that are not part of it and you are interested in incorporating.
Well, to upload a plugin, just click the “Upload Plugin” button at the top of the page.
Select the plugin file from your computer by clicking the “Browse” button and you can now upload the plugin file.
Remember to always upload WordPress plugins to your website in ZIP format.
Next, click on the “Install Now” button and the plugin will be automatically uploaded and installed on your website. As before, at that moment you can activate it or return to the general page of plugins.
Easy, right?
The Best WordPress Plugins
As I mentioned at the beginning of the post, surely another of your doubts regarding WordPress plugins is which ones to install and how many at most .
These concerns do not have a single answer so, although I am from Seville, I have no choice but to respond to the Galician: it depends (hey, I love Galicia, so this comment is with love).
And what does it depend on?
Of your REAL needs.
I know that many lists of the best WordPress plugins circulate and that every month you can find new recommendations. If you ignore them all and add all the plugins that you think are great, you will end up cluttering your site with plugins that you don’t really need.
Be careful, I am not saying that installing plugins is bad, but only add to your website those that really offer you the features you are looking for. Not one more, not one less.
Now, if you insist and want to know at least a few basic ones that will come in handy, here is a specific article with the list of plugins that I myself use on my website:
With this, we have unveiled all the mysteries of WordPress plugins . I promised you at the beginning that by the end of reading it would seem like child’s play, so tell me: have I exaggerated? Do you still have any doubts? Did you think that installing, activating and deleting plugins was more complex? We continue in the comments. I’ll wait for you there!