


Do you want to create an online store on wordpress? It sounds simple but did you know that this strategy costs a lot of money. Therefore you should avoid making a wrong step in making it. We will provide a complete guide so you don’t make a mistake. Building an online store is so easy by following these steps:
1. How to create an online store with wordpress
Before creating a multi-vendor website or marketplace, you must have the following important elements:
A. Specify a domain name
First, the domain becomes one of the important elements before creating e-commerce.
If you don’t have an idea to create a domain name that is accurate and pleasing to the eye.
After determining the domain name the next step is:
B. Buy and choose a domain and hosting
Save the domain name created earlier next time you need to visit a trusted place to buy it.
Hosting also needs to be prepared carefully, because usually a good capacity to create e-commerce is unlimited.
• Choose the cheapest hosting package, don’t forget to look for a package that has a free domain.
• Order now and it will be taken to the purchase menu.
Next you need to install the hosting and domain, this step takes 10 minutes, here’s how:
C. Install wordpress
Many web hosting partners offer one-click installation in combination with cPanel.
This means it allows you to install WordPress instantly.
We provide the best recommendations to follow:
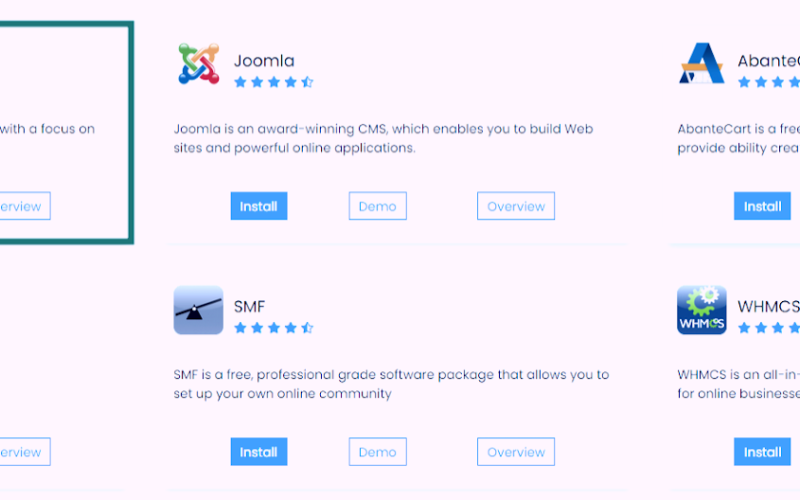
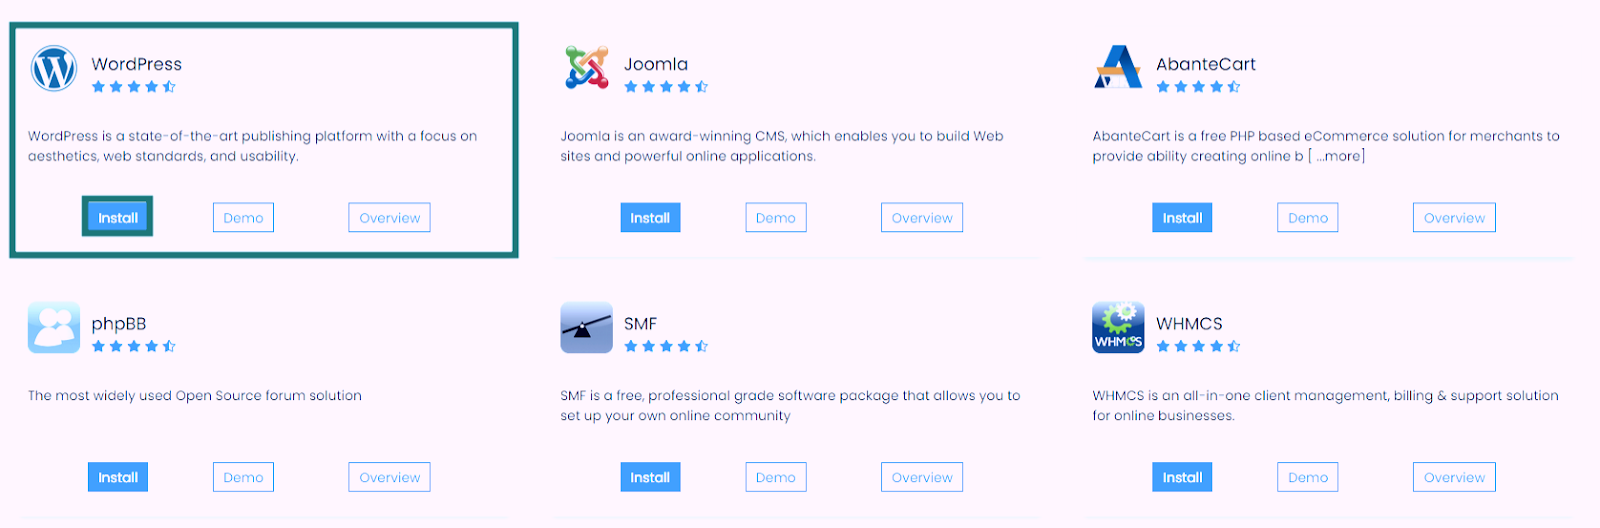
1. Enter the cPanel area.
2. Select the “Softaculous Apps Installer” icon and install it.
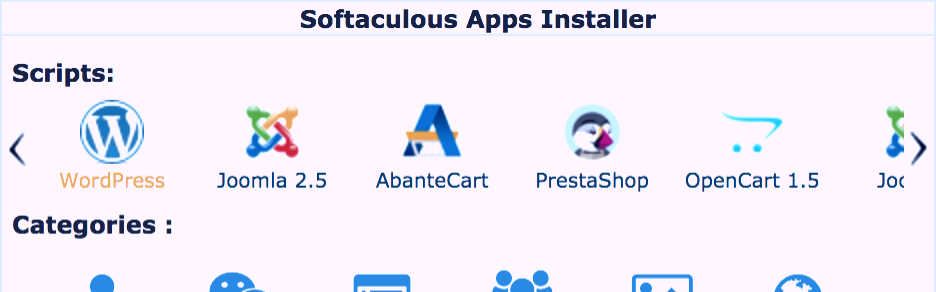
3. Click the “WordPress” logo then install.
4. On this page, you need to fill in the WordPress installation details with:
• Select a domain: Enter the purchased domain.
• Specify a root folder for installation.
* Noteworthy; directory field section is empty by default *
• You can install it to a subfolder if your blog is powered by WordPress, for example : yourdomain.com/blog , type “blog” in this field.
• Database name is left as default.
• default wp_; The Prefix table may persist, but for increased security, we recommend changing it to : wpwebsitename_.
• Finally “Fill Site Settings”.
After the above method has been done then it’s time to install wordpress, here are the steps:
Go to the domain where you set up the WordPress installation for the first time.
When your WordPress files are in the root directory, open http://exampledomain.com/wp-admin/install.php .
If you put the file in a subdirectory called myblog, then open it at : http://exampledomain.com/myblog/wp-admin/install.php .
• Press the “Advanced” button, and click “Let’s go” to start the installation.
• To connect a database to WordPress, you must enter a database name, and a previous username and password.
• Click “Submit” and wait a few moments until the installation process is complete.
• To try logging in, you just need to click the “Log in” button, and enter the username and password you just submitted.
D. Install plugin ecommerce
Next then you need to install the plugin that is used to create an online marketplace.
Next, you need to install the online marketplace plugin, we recommend following these practical steps:
Go to “Plugins” menu and Tap “Add new”.
Type “WooCommerce” in the search menu and add the plugin.
Activate the plugin and set it up to your liking.
E. Turning an e-commerce site into an online store
1. Installing a multi-vendor plugin
The best plugin is Dokan Multivendor, it needs to be installed and activated.
2. Add a product or service
First step : Go to WooCommerce > Products > Add Product.
Step two : Enter the Product Title and Description. Open the Product Data panel, and select a product (digital) or a service (service).
Third step : Add “Product Variants” by clicking “Add New Variants”.
Step four : Configure product shipping arrangements.
Fifth step : Add “Image” , then set Price, SKU, Category, and Tags.

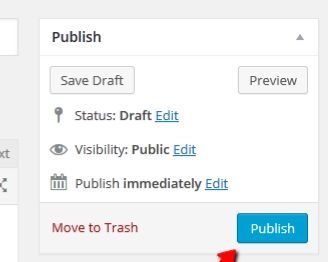
The final step: Click “Publish” and wait for the product to appear on your site.
3. Customize the appearance of the website
After the product is successfully entered, it is necessary to adjust to the appearance of the website.
Usually if the product looks neat it is necessary to do:
A. Mark a product as featured, by: Go to Products > All Products and select the Star symbol in the featured column.
B. Filter products, Go to: WooCommerce > Products > Select Category > Product Type/or Stock Status or a combination of the three. Finally, Click Filter.
Advantages of Using an Online Store Website with WordPress:
a. No need to rent a shop / kiosk / stall.
b. Extensive customer access.
c. Profitable business model.
d. Creating better targeting techniques.
e. Reduce marketing and operational costs.
f. A convenient channel for distributing products and services.
That’s complete information about how to create an online store for free using wordpress.
By saving this article the tutorial provided can help readers to make it. So good luck!